In this article, we will see laravel 9 barcode generator example. In this example we will use the milon/
So, let's how to generate barcode using milon/barcode package in laravel 9, how to generate barcode in laravel 9, barcode generator laravel 9, laravel 9 barcode generator, milon/barcode laravel 9, how to create barcode in laravel 9, how to print barcode in laravel 9.
Step 1 : Install Laravel 9
Step 2 : Install milon/
Step 3 : Add Service Provider And Aliase
Step 4 : Create Controller
Step 5 : Add Route
In this step, we will create laravel 9 application using the below command.
composer create-project --prefer-dist laravel/laravel barcode After installation of project, you need to install milon/
composer require milon/barcode You can also edit your project's composer.json file to require milon/barcode.
"require": {
    "milon/barcode": "^9.0"
}
Next, update Composer from the Terminal:
composer updateOnce this operation completes, the final step is to add the service provider. Open, and add a new item to the provider's array.
'providers' => [
    // ...
    Milon\Barcode\BarcodeServiceProvider::class,
]
If you want to change Bar-code's settings (Store Path etc.), you need to publish its config file(s). For that, you need to run in the terminal-
# Laravel 5.x
php artisan vendor:publish
Now add the alias.
'aliases' => [
    // ...
    'DNS1D' => Milon\Barcode\Facades\DNS1DFacade::class,
    'DNS2D' => Milon\Barcode\Facades\DNS2DFacade::class,
]Now create a controller app\Http\Controllers\BarcodeController.php and add the below command.
<?php

namespace App\Http\Controllers;

use Illuminate\Http\Request;

class BarcodeController extends Controller
{
    public function barcode()
	{
	    return view('barcode');
	}
}We need to add route for generating Barcode and view file.
<?php

use Illuminate\Support\Facades\Route;
use App\Http\Controllers\BarcodeController;
/*
|--------------------------------------------------------------------------
| Web Routes
|--------------------------------------------------------------------------
|
| Here is where you can register web routes for your application. These
| routes are loaded by the RouteServiceProvider within a group which
| contains the "web" middleware group. Now create something great!
|
*/

Route::get('/', function () {
    return view('welcome');
});

Route::get('barcode', [BarcodeController::class,'barcode']);Now, create barcode.blade.php file for generate Barcode in this path resources\views\barcode.blade.php and add below html code.
<html>
<head>
<meta charset="utf-8">
<meta http-equiv="X-UA-Compatible" content="IE=edge">
<title>Laravel 9 Barcode Generator Example - Websolutionstuff</title>
<link rel="stylesheet" href="https://maxcdn.bootstrapcdn.com/bootstrap/3.3.7/css/bootstrap.min.css">
</head>
<div style="margin-left:265px; margin-right: 265px; margin-top: 40px;">
<h2 class="text-primary" style="text-align: center;margin-bottom: 20px;">Laravel 9 Barcode Generator Example - Websolutionstuff</h2>
<div style="text-align: center;">
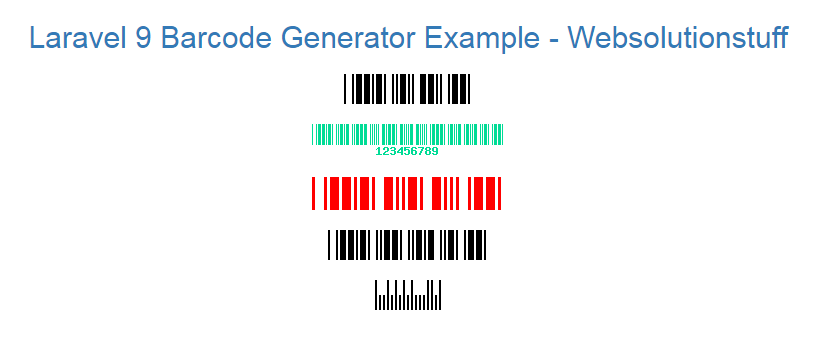
<img src="data:image/png;base64,{{DNS1D::getBarcodePNG('10', 'C39')}}" alt="barcode" /><br><br>
<img src="data:image/png;base64,{{DNS1D::getBarcodePNG('123456789', 'C39+',1,33,array(0,220,150), true)}}" alt="barcode" /><br><br>
<img src="data:image/png;base64,{{DNS1D::getBarcodePNG('5', 'C39+',3,33,array(255,0,0))}}" alt="barcode" /><br><br>
<img src="data:image/png;base64,{{DNS1D::getBarcodePNG('11', 'C39+')}}" alt="barcode" /><br><br>
<img src="data:image/png;base64,{{DNS1D::getBarcodePNG('25', 'POSTNET')}}" alt="barcode" /><br/><br/>
</div>
</div>
</html>Output :
You might also like :
- Read Also : Laravel 9 Cron Job Task Scheduling Tutorial
- Read Also : Laravel 9 Datatables Filter with Dropdown
- Read Also : Laravel 9 Yajra Datatable Example
- Read Also : Laravel 9 Image Upload Example