In this article, we will see how to crop images before uploading using the croppie plugin. any times we have requirements to crop the image before uploading to the server. So here I will give you an example of how to crop the image before uploading it to the server. croppie plugin provides circle and square crop photos and several other options of settings. Croppie plugin is easy to use, fast image cropping plugin with different types of configuration options.
So, let's see the cropped image before uploading using ajax or crop image using croppie plugins.
Here, I have used croppie.js CDN for crop image So copy my code and get the output.
I have created one folder crop_image and created an index.php file in this folder.
<html lang="en">
<head>
  <title>Crop image using croppie plugins - websolutionstuff.com</title>
  <link href="https://stackpath.bootstrapcdn.com/bootstrap/3.4.1/css/bootstrap.min.css" rel="stylesheet">
  <link rel="stylesheet" href="https://cdnjs.cloudflare.com/ajax/libs/croppie/2.6.5/croppie.css">
  <script src="https://code.jquery.com/jquery-3.5.1.min.js"></script>
  <script src="https://cdnjs.cloudflare.com/ajax/libs/croppie/2.6.5/croppie.js"></script>
</head>
<body>

<h3 class="text-center">Crop image using croppie plugins - websolutionstuff.com</h3>
<div class="container">
	<div class="panel panel-default" style="margin-top: 25px;">
	  	<div class="panel-heading">Upload Image</div>
		  	<div class="panel-body">
			  	<div class="row">
			  		<div class="col-md-4 text-center" style="padding-top:30px;">
						<div id="upload-input" style="width:350px; height: 400px;"></div>
			  		</div>
			  		<div class="col-md-4" style="padding-top:30px;">
						<strong>Select Image:</strong>
						<br/>
						<input type="file" id="upload">
						<br/>
						<button class="btn btn-success upload-result">Upload Image</button>
			  		</div>
			  		<div class="col-md-4" >
						<div id="uploaded-input" style="background:#e1e1e1;width:300px;padding:30px;height:300px;margin-top:30px">
						</div>
			  		</div>
			  	</div>
			</div>
		</div>
	</div>
</div>


<script type="text/javascript">
$uploadCrop = $('#upload-input').croppie({
    enableExif: true,
    viewport: {
        width: 200,
        height: 200,
        type: 'circle'
    },
    boundary: {
        width: 300,
        height: 300
    }
});


$('#upload').on('change', function () {
	var reader = new FileReader();
    reader.onload = function (e) {
    	$uploadCrop.croppie('bind', {
    		url: e.target.result
    	}).then(function(){
    		console.log('jQuery bind complete');
    	});

    }
    reader.readAsDataURL(this.files[0]);
});


$('.upload-result').on('click', function (ev) {
	$uploadCrop.croppie('result', {
		type: 'canvas',
		size: 'viewport'
	}).then(function (resp) {
		$.ajax({
			url: "/crop_image/store_img_ajax.php",
			type: "POST",
			data: {"image":resp},
			success: function (data) {
				html = '<img style="margin: 20px;" src="' + resp + '" />';
				$("#uploaded-input").html(html);
			}
		});
	});
});
</script>
</body>
</html>Now, We need to create a store_img_ajax.php file to store crop images in this folder crop_image/store_img_ajax.php
<?php
$data = $_POST['image'];
list($type, $data) = explode(';', $data);
list(, $data) = explode(',', $data);
$data = base64_decode($data);
$imageName = time().'.png';
file_put_contents('upload/'.$imageName, $data);
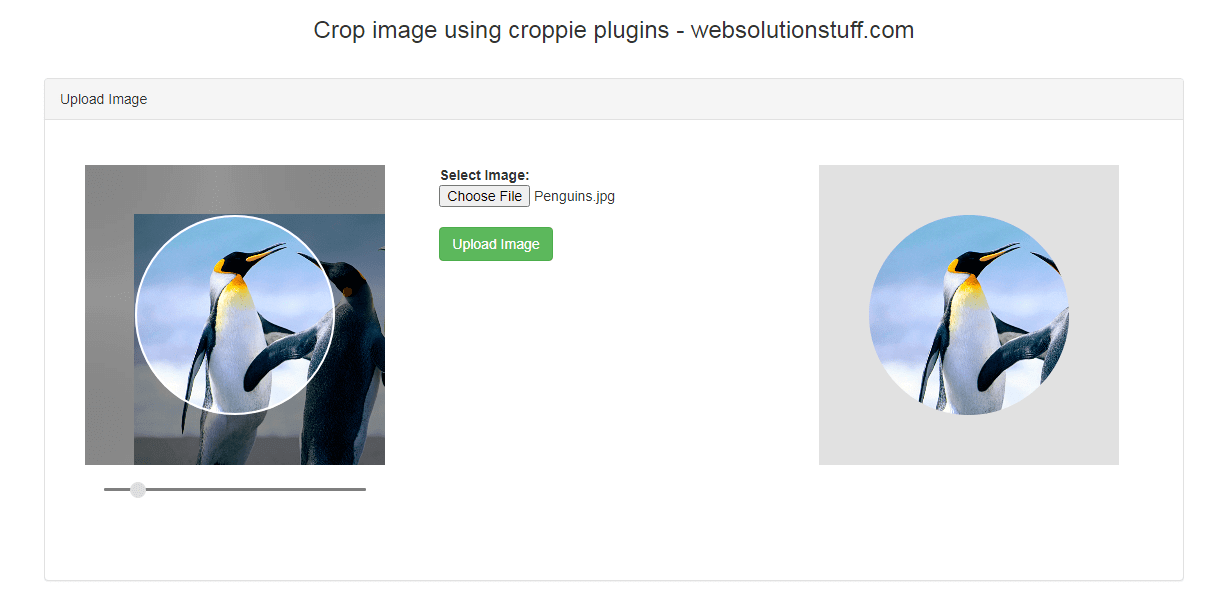
?>And you will get output like the below screenshot.
You might also like: