In this tutorial we will see laravel 8 socialite login with github account. explains how to integrate OAuth github login in the laravel 8. As you all know currently many website provides diffrents type of login authentication facilities to user like facebook login, login with google account, login with gmail etc.
Here I will give you example of Laravel Socialite - login with github account. here I have used laravel 8 jetstream authentication for laravel 8 github social login example.
Let's start to implement login with github account laravel 8.
Step 1 : Install laravel 8 for socialite login with github account.
Step 2 : Configure Database
Step 3 : Add Jetstream for authentication
Step 4 : Install socialite package in laravel 8 for login with github account
Step 5 : Add github ID in Users Table
Step 6 : Register Github Account and Get Client ID and Secret Key
Step 7 : Configure services.php file
Step 8 : Create GitHubController
Step 9 : Add Routes in web.php file
Step 10 : Update Code in Blade File and Run Project
In this step we will install laravel 8 for this socialite login with github account.
composer create-project --prefer-dist laravel/laravel laravel-8-login-with-github-exampleNow configure database connection in .env file
DB_CONNECTION=mysql
DB_HOST=127.0.0.1
DB_PORT=3306
DB_DATABASE=laravel_8_github_example
DB_USERNAME=root
DB_PASSWORD=Laravel Jetstream is authentication scaffolding crafted with Tailwind CSS and allows you to build auth templates with Livewire or Inertia JS.
It gives you pre-defined login, registration, email verification, two-factor authentication, session management, API support templates.
So, run below command for install jetstream in laravel 8.
composer require laravel/jetstreamNow, we need to install livewire using below artisan command and also we need basic authentication like login and registration otherwise you can install using auth command.
php artisan jetstream:install livewireNow, install npm and run package.
npm install
npm run dev
Now, we will create database using migration command.
php artisan migrateNow, we will install socialite package. so,run below command.
composer require laravel/socialiteIn the config/app.php file then add socialite services in providers, as well as aliases arrays:
'providers' => [
    ...
    ...
    Laravel\Socialite\SocialiteServiceProvider::class,
],

'aliases' => [
    ...
    ...
    'Socialite' => Laravel\Socialite\Facades\Socialite::class,
],In this step, we have to add the new value inside the users’ table, use below command to create a new migration file.
php artisan make:migration add_github_id_fieldEdit add_github_id_field.php file and update below code in that file.
<?php

use Illuminate\Database\Migrations\Migration;
use Illuminate\Database\Schema\Blueprint;
use Illuminate\Support\Facades\Schema;

class AddGithubIdField extends Migration
{
    /**
     * Run the migrations.
     *
     * @return void
     */
    public function up()
    {
        Schema::table('users', function ($table) {
            $table->string('github_id')->nullable();
            $table->string('auth_type')->nullable();
        });
    }

    /**
     * Reverse the migrations.
     *
     * @return void
     */
    public function down()
    {
        Schema::table('users', function ($table) {
            $table->dropColumn('github_id');
           $table->dropColumn('auth_type');
         });
    }
}
Now, we have to register the newly created migration file’s value inside the User model file. In the app/Models/User.php file and update the values.
<?php

namespace App\Models;

use Illuminate\Contracts\Auth\MustVerifyEmail;
use Illuminate\Database\Eloquent\Factories\HasFactory;
use Illuminate\Foundation\Auth\User as Authenticatable;
use Illuminate\Notifications\Notifiable;
use Laravel\Fortify\TwoFactorAuthenticatable;
use Laravel\Jetstream\HasProfilePhoto;
use Laravel\Sanctum\HasApiTokens;

class User extends Authenticatable
{
    use HasApiTokens;
    use HasFactory;
    use HasProfilePhoto;
    use Notifiable;
    use TwoFactorAuthenticatable;

    /**
     * The attributes that are mass assignable.
     *
     * @var string[]
     */
    protected $fillable = [
        'name',
        'email',
        'password',
        'github_id',
        'auth_type',
    ];

    /**
     * The attributes that should be hidden for serialization.
     *
     * @var array
     */
    protected $hidden = [
        'password',
        'remember_token',
        'two_factor_recovery_codes',
        'two_factor_secret',
    ];

    /**
     * The attributes that should be cast.
     *
     * @var array
     */
    protected $casts = [
        'email_verified_at' => 'datetime',
    ];

    /**
     * The accessors to append to the model's array form.
     *
     * @var array
     */
    protected $appends = [
        'profile_photo_url',
    ];
}
Now new table values have been added, run migration and update the database tables.
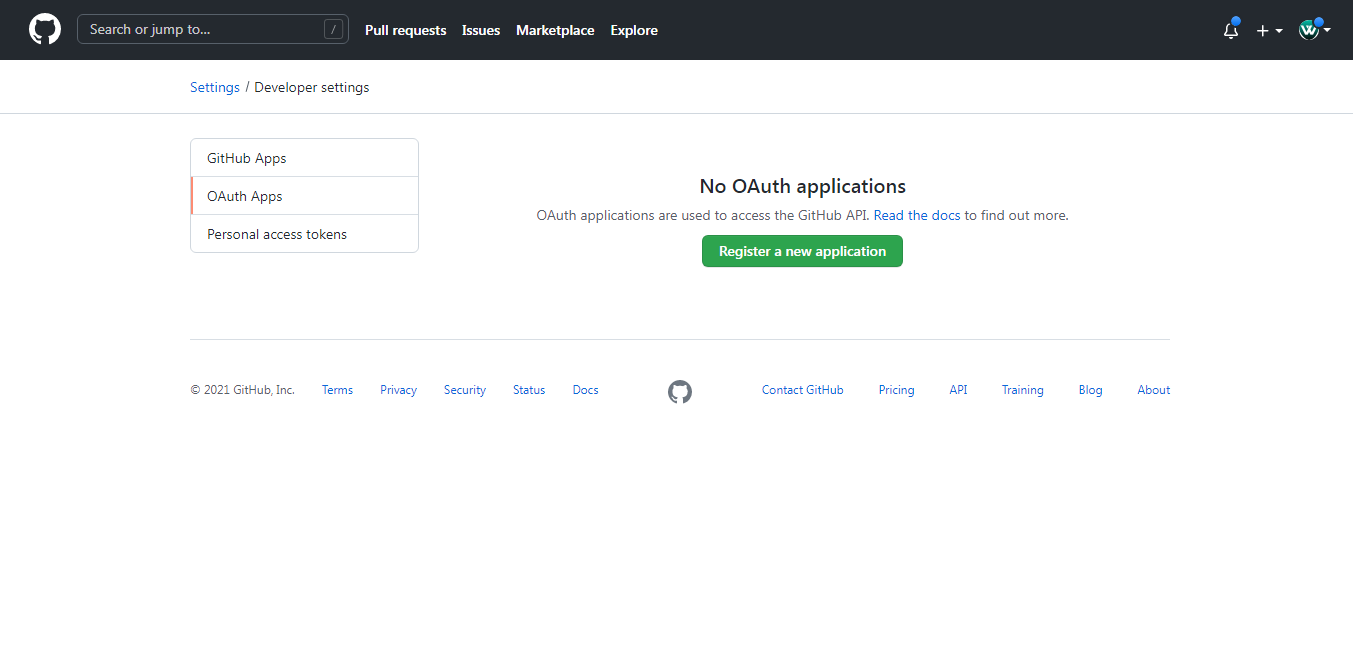
php artisan migrateYou must have a Github account for perform laravel 8 login with github account. After create github account visit the GitHub developers account to get the Github client id and secret key.
You need to create a new OAuth Apps. So, Register a new application button.
fill in the required information to register a new OAuth app.
Once the app is registered successfully, then you can get the Client ID and Secret Key.
In this step we will configure github client id, secret key and redirection callback URL in config/services.php file.
'github' => [
        'client_id' => 'xxxx',
        'client_secret' => 'xxxx',
        'redirect' => 'http://localhost:8000/auth/github/callback',
],Update below code in your created GitHubController file.
<?php

namespace App\Http\Controllers;

use Illuminate\Http\Request;
use Auth;
use Exception;
use Socialite;
use App\Models\User;

class GitHubController extends Controller
{
    public function gitHubLogin()
    {
        return Socialite::driver('github')->redirect();
    }


    public function gitHubCallback()
    {
        try {

            $user = Socialite::driver('github')->user();

            $searchUser = User::where('github_id', $user->id)->first();

            if($searchUser){

                Auth::login($searchUser);

                return redirect('/dashboard');

            }else{
                $gitUser = User::create([
                    'name' => $user->name,
                    'email' => $user->email,
                    'github_id'=> $user->id,
                    'auth_type'=> 'github',
                    'password' => encrypt('git12345')
                ]);

                Auth::login($gitUser);

                return redirect('/dashboard');
            }

        } catch (Exception $e) {
            dd($e->getMessage());
        }
    }
}
Add the following code in routes/web.php file.
<?php

use Illuminate\Support\Facades\Route;
use App\Http\Controllers\GitHubController;

Route::get('auth/github', [GitHubController::class, 'gitHubLogin']);
Route::get('auth/github/callback', [GitHubController::class, 'gitHubCallback']);Now add below code in resources/views/auth/login.blade.php.
<x-guest-layout>
    <x-jet-authentication-card>
        <x-slot name="logo">
            <x-jet-authentication-card-logo />
        </x-slot>

        <x-jet-validation-errors class="mb-4" />

        @if (session('status'))
            <div class="mb-4 font-medium text-sm text-green-600">
                {{ session('status') }}
            </div>
        @endif

        <form method="POST" action="{{ route('login') }}">
            @csrf

            <div>
                <x-jet-label for="email" value="{{ __('Email') }}" />
                <x-jet-input id="email" class="block mt-1 w-full" type="email" name="email" :value="old('email')" required autofocus />
            </div>

            <div class="mt-4">
                <x-jet-label for="password" value="{{ __('Password') }}" />
                <x-jet-input id="password" class="block mt-1 w-full" type="password" name="password" required autocomplete="current-password" />
            </div>

            <div class="block mt-4">
                <label for="remember_me" class="flex items-center">
                    <x-jet-checkbox id="remember_me" name="remember" />
                    <span class="ml-2 text-sm text-gray-600">{{ __('Remember me') }}</span>
                </label>
            </div>

            <div class="flex items-center justify-end mt-4">
                @if (Route::has('password.request'))
                    <a class="underline text-sm text-gray-600 hover:text-gray-900" href="{{ route('password.request') }}">
                        {{ __('Forgot your password?') }}
                    </a>
                @endif

                <x-jet-button class="ml-4">
                    {{ __('Log in') }}
                </x-jet-button>
            </div>

            <div class="flex items-center justify-end mt-4">
                <a class="btn" href="{{ url('auth/github') }}"
                    style="color: #ffffff; background: #24292f; padding: 10px; width: 100%; text-align: center; display: block; border-radius:3px;">
                    Login with GitHub
                </a>
            </div>
        </form>
    </x-jet-authentication-card>
</x-guest-layout>
Now, we have done with our code and it's time to run our project. You will get output like below image.
When you click on login with Github button after you will get like below screenshot.
You might also like :
- Read Also : How To File Upload Using Node.js
- Read Also : How To Create Dynamic Pie Chart In Laravel
- Read Also : How To Create Dynamic Bar Chart In Laravel
- Read Also : How To Validate Phone Number Using Jquery Input Mask