In this article, we will discuss laravel 8 authentication with jetstream. This post will give you a simple and easy example of laravel 8 authentication using jetstream example. you can see laravel 8 Jetstream auth with livewire. It's very amazing features in laravel 8. Laravel 8 has totally changed with the authentication scaffolding. Laravel Jetstream is a beautifully designed application scaffolding for laravel.
It provides much built-in functionality including login, registration, email verification, two-factor authentication, session management, API support via Laravel Sanctum, and optional team management. Laravel Jetstream is designed using Tailwind CSS with different choices of Livewire or Inertia. So, in this example, we will perform laravel 8 auth using livewire.
So, let's see, how to install jetstream in laravel 8, laravel 8 jetstream authentication with livewire, and laravel 8 authentication with jetstream.
Let's start and follow the below steps and perform an example of laravel 8 authentications with a jetstream example.
We will create a new project setup for this example. So, create a new project using the below command.
composer create-project --prefer-dist laravel/laravel blogIn this step, we need to use the composer command to install jetstream. So, let's run the below command for installing jetstream.
composer require laravel/jetstreamIn this step, we are creating authentication using the below command. Jetstream provides two commands for creating authentication. simple login, register email verification and if you want to create a team in your laravel project then also provide using the team parameter in the command.
Install livewire with or without a team
php artisan jetstream:install livewire

OR

php artisan jetstream:install livewire --teamsIn this step, we are installing the node package. Before installing the npm package, it will require node.js in your system. If you haven’t installed it in your system then do it before proceeding to this step.
npm installLet's run the node.js package.
npm run devAfter running both commands we need to add migration in our database. So, run the following command in the terminal.
php artisan migrateLaravel 8 Jetstream provides new features that are configurable. you can see there is a configuration file config\fortify.php and config\jetstream.php file where you can enable and disable options for that features and also provide other configuration files like sanctum.php, hashing.php, etc.
config\fortify.php
...

'features' => [
        Features::registration(),
        Features::resetPasswords(),
        Features::emailVerification(),
        Features::updateProfileInformation(),
        Features::updatePasswords(),
        Features::twoFactorAuthentication([
            'confirmPassword' => true,
        ]),
    ],

...
config\jetstream.php
...

    'features' => [
        Features::profilePhotos(),
        Features::api(),
        Features::teams(),
    ],

...
Please make sure if you are running with php artisan jetstream:install livewire --teams command then enable teams features or other features otherwise you will get an error.
Now run your application using the below command
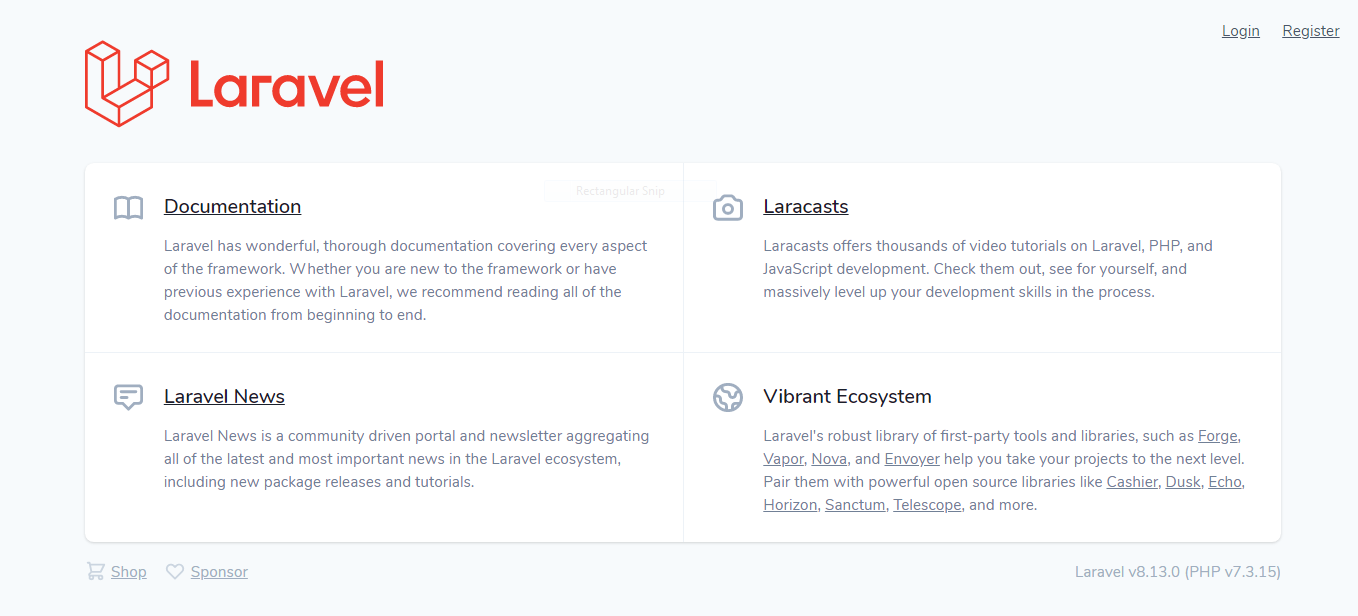
Now you will get output like the below screenshot.
Home Page

Login Page

Profile Page

You might also like:


