Bước 1: Int project react native (LT;DR)
cài đặt project react native
yarn add global react-native-cli
yarn add global react-native
react-native init projectname
ngoài ra các bạn có thể tạo project bằng expo
cd projectname
Bước 2: Add dependency
Chạy lệnh:
yarn add tailwind-rn
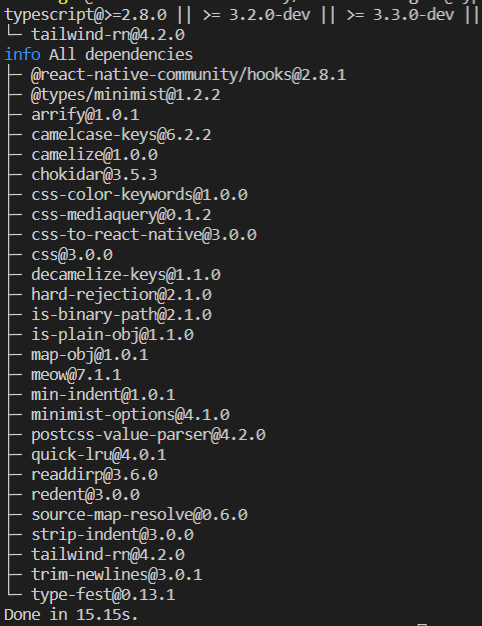
Tại thời điểm viết bài thư viện tailwind-rn đang ở version 4.2.0, có 3.5k start trên gitHub, 6000 lượt download mỗi tuần trên npm.
Bước 3: Generate các file config
Chạy lệnh:
npx setup-tailwind-rn
Sau khi chạy xong project sẽ tụ động xuất hiện 4 file:
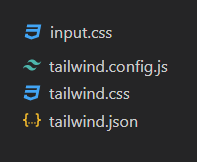
file tailwind.css, taiwind.json là sản phẩm cuối dùng được tự động build ra.
Bước 4: setup các component
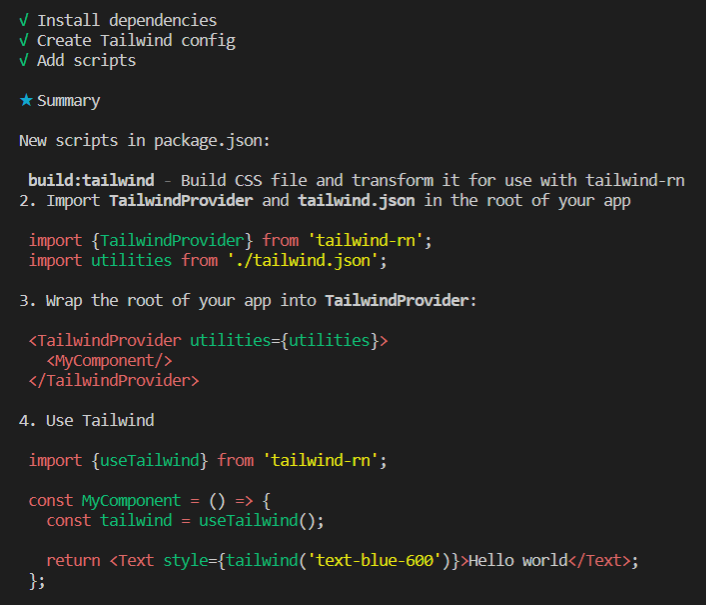
Tiếp tục làm theo hướng dẫn
4.1: setup Component root
import 2 dòng này vào Component App:
import {TailwindProvider} from 'tailwind-rn';
import utilities from './tailwind.json';
Trường hợp này App đang là component root.
Cho App return Component TailwindProvider, tất cả các component còn lại là children của TailwindProvider. TailwindProvider nên bao bọc phía ngoài cùng tất cả, kể cả NavigationContainer, NativeBaseProvider, ...
const App = () => {
  return (
    <TailwindProvider utilities={utilities} >
		 {/* <MyComponent /> */}
	</TailwindProvider>
  );
};
File App.js sẽ trông như thế này:
import React from 'react';
import {TailwindProvider} from 'tailwind-rn';
import utilities from './tailwind.json';

const App = () => {
  return (
    <TailwindProvider utilities={utilities} >
		 {/* <MyComponent /> */}
	</TailwindProvider>
  );
};
export default App;
4.3: Sử dụng các class tailwind CSS
Tạo component MyComponent với nội dung như sau
import {useTailwind} from 'tailwind-rn';      // <=====

const MyComponent = () => {
  const tailwind = useTailwind();             // <=====
  return (
    <View style={tailwind('pt-12 items-center')}>
      <View style={tailwind('bg-blue-200 px-3 py-1 rounded-full')}>
        <Text style={tailwind('text-blue-800 font-semibold')}>
          Hello Tailwind
        </Text>
      </View>
    </View>
  );
};
5: run và debug ứng dụng
Mở đồng thời 2 của số terminal mỗi khi muốn run app trên điện thoại hoặc máy ảo:
Cửa số thứ nhất chạy lệnh:
yarn dev:tailwind
Cửa số thứ nhất chạy lệnh:
yarn android
hoặc
yarn ios
NHỮNG LƯU Ý KHÔNG CÓ TRONG DOCS
1. Class tailwind không có tác dụng khi sử dụng trực tiếp bên trong component root.
Trường hợp dưới đây là không hợp lệ:
import React from 'react';
import {SafeAreaView, View, Text} from 'react-native';

import {TailwindProvider} from 'tailwind-rn';
import utilities from './tailwind.json';

const App = () => (
	<TailwindProvider utilities={utilities}>
		<SafeAreaView style={tailwind('h-full')}>   //  <=====
			<View style={tailwind('pt-12 items-center')}>  //  <=====
				<View style={tailwind('bg-blue-200 px-3 py-1 rounded-full')}>  //  <=====
					<Text style={tailwind('text-blue-800 font-semibold')}>  //  <=====
						Hello Tailwind
					</Text>
				</View>
			</View>
		</SafeAreaView>
	</TailwindProvider>
);

export default App;
2. Config đường dẫn các component con
Nếu project thư mục có cấu trúc như này và muốn sử dụng class tailwind cho ProfileScreen, LoginScreen, HomeScreen, ...
projectname/
├─ src/
│  ├─ screens/
│  │  ├─ ProfileScreen.js
│  │  ├─ LoginScreen.js
│  │  ├─ HomeScreen.js
tailwind.config.js
Trong file tailwind.config.js cần chỉ định path cho thuộc tính content là './src/screens/**.{js,jsx}' (mặc định content là mảng rỗng).
module.exports = {
  content: ['./src/screens/**.{js,jsx}'],
  theme: {
    extend: {},
  },
  plugins: [],
  corePlugins: require('tailwind-rn/unsupported-core-plugins'),
};
nếu có nhiều thư mục với các đường dẫn khác nhau thì tạo thành mảng các đường dẫn:
content: ['./src/screens/**.{js,jsx}', './src/components/**.{js,jsx}'],
hoặc
content: ['./src/**/**.{js,jsx}'],