The first time i searched about sentry in the internet was quite a confusing time. Because google was showing some comic character from marvel where i was told that sentry is a great tool for detecting errors and exceptions in an application. Setting aside my interest for this newly found superhero(who can defeat batman  ), I concentrated on the sentry i wanted to know and below is the glimpse of some of my findings.
Sentry
Even an well-coded and well-tested application can have exceptional error scenario that can be hard to debug and ressolve. Sentry comes like a messiah in this situation. So the question may arise, What this actually is? Sentry is an open-source real time error tracking system in all the environments of an application lifecycle. It is an easily configurable system which support many programming languages and their framworks in frontend, backend, mobile and desktop like Java, Python, Ruby, React, c#, PHP and more. Many reknowed companies as well as start-ups have given their faith in their product development and producing smooth and error-free systems for the users.
Installation in Rails
Creating an account in sentry is free for developers(although the error tacking number is limited) with the option of enterprse options with unlimited track. To connect the project with sentry we need to create an account in sentry and collect the DSN string for communicate project with sentry. This DSN value is a secret key assigned for the project. So we should handle it with care. For this we will save the DSN value in environmental variable file as SENTRY_DSN and call it in the project asENV["SENTRY_DSN"] .
Now to ease the integration of sentry has an official gemfile named sentry-ruby . To use this we need to follow 2 steps:
- Add
gem "sentry-ruby"
in the gemfile and run bundle install.
- In the
application.rbsimply add the DSN value we created and restart the server.
Sentry.init do |config|
  config.dsn = ENV["SENTRY_DSN"]
end
voila!!
Testing
After integrating the sentry in the project, next we can create an exception from our console(dont forget to restart the console too). Run this code from the console you will see an entry of exception in your own dashboard.
Sentry.capture_message("hello")

begin
  1 / 0
rescue ZeroDivisionError => exception
  Sentry.capture_exception(exception)
end
and in the list:
 when you enter the error description:

User feeback
User feedback is one of the enriching features of sentry system. It allows an end-user to volunteerily contribute to the source of an error. It is an excellent feature for the developers to recreate the bug scenario and fix them in the path of making a good software. This is particularly advantageous when the application has a error page known as 500 page. Enabling this feature in ruby projects is not so hazzardous but need to follow some steps. I am discussing the steps below:
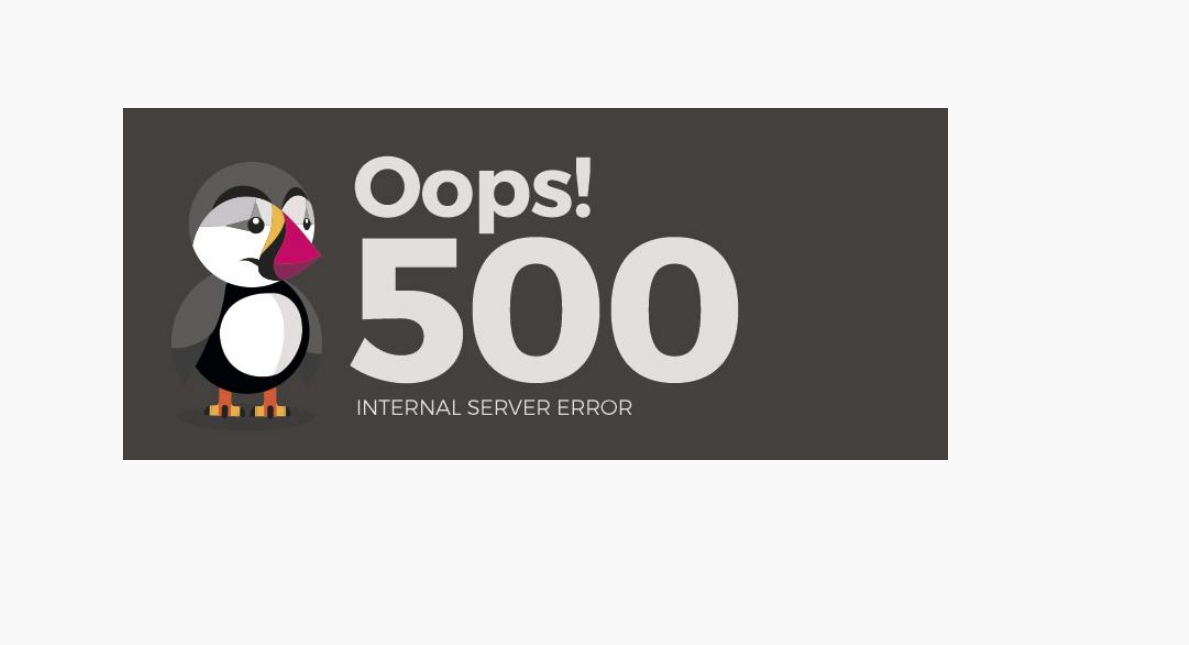
- First we will create a 500 page for our application. It will be shown when an unexceptional error or exception occurs. So our 500.slim page will be:
= image_tag "error_500.png", class: "error-page-image"
which will generate

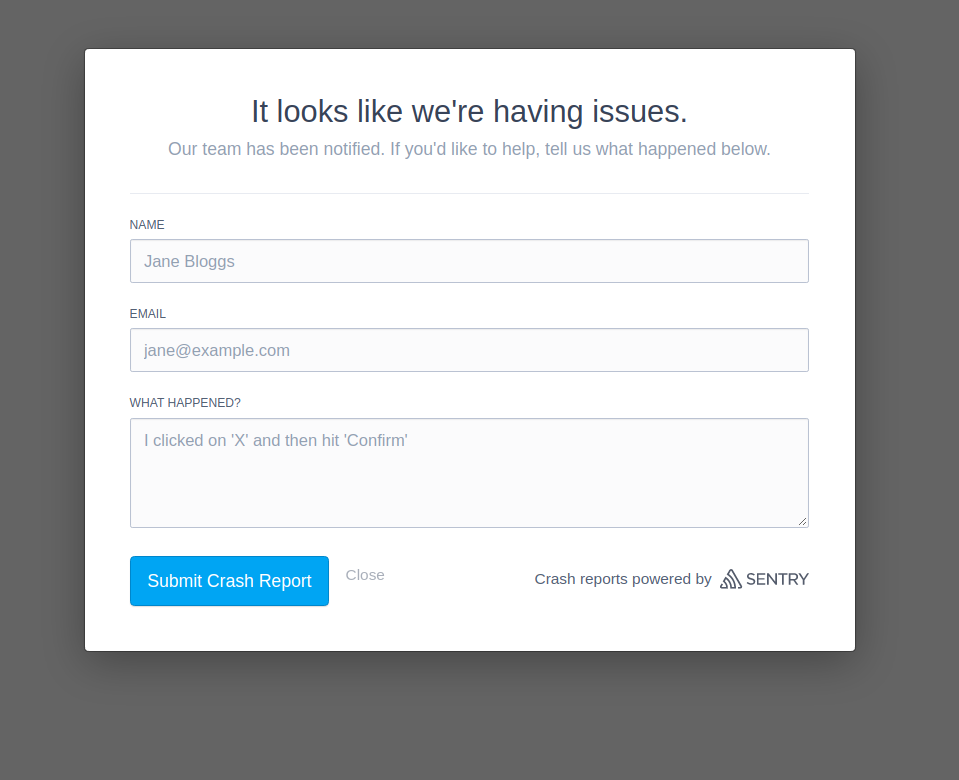
- To collect feedback, we will use the embeddable JavaScript widget, which requests and collects the user's name, email address, and a description of what occurred. When feedback is provided, Sentry pairs the feedback with the original event, giving you additional insights into issues. To integrate the widget, we need to be running version 2.1 or newer of our JavaScript SDK. The widget authenticates with your public DSN, then passes in the Event ID that was generated on your backend. To add this we simply need to include sentry raven js in our 500 page. and call the API to show the user feedback dialogue box. so our 500 page will be
= image_tag "error_500.png", class: "error-page-image"

  = javascript_include_tag "path/to/sentry_raven.js"

  javascript:
    Raven.showReportDialog({
      eventId: '#{Raven.last_event_id}',
      dsn: '#{ENV["SENTRY_DSN"]}'
    });
Now it will show the feedback form first like this

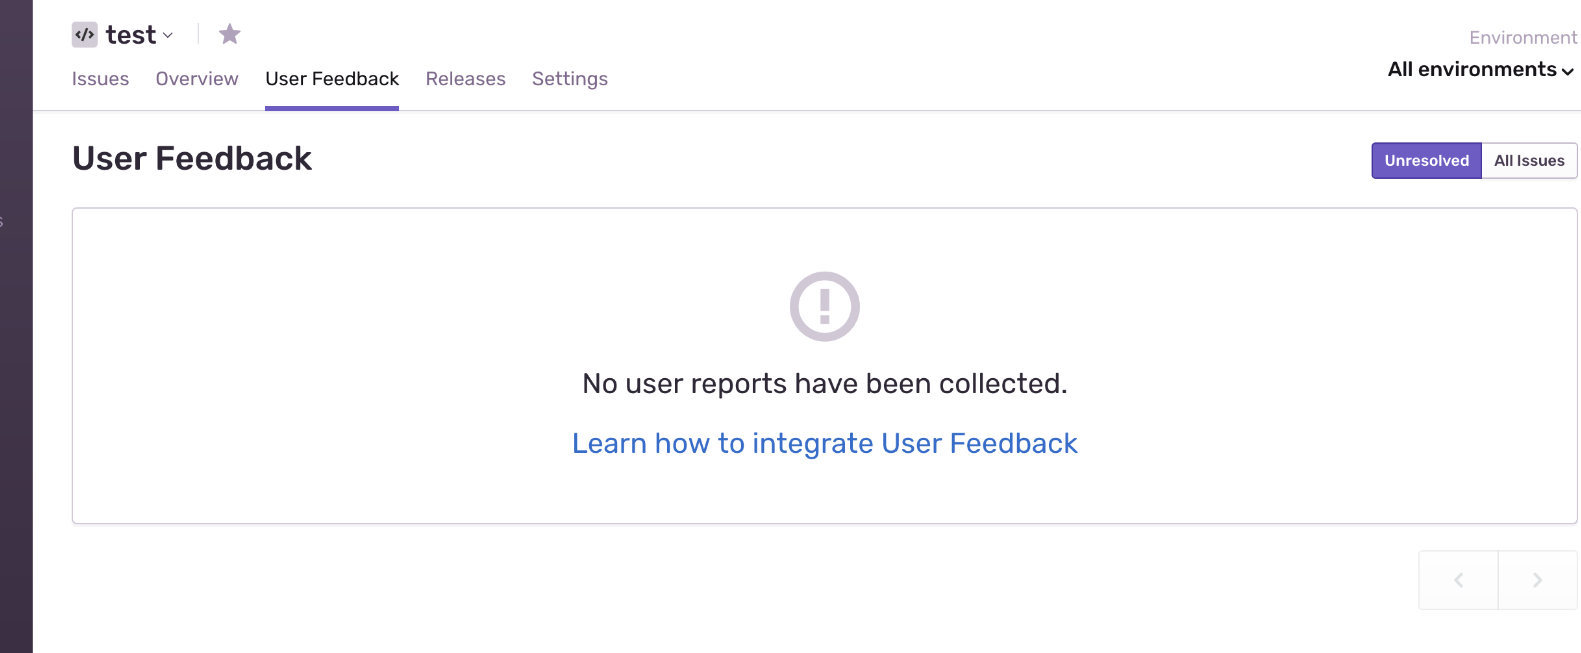
- Next step is to just fill this form up and submit the report. The person responsible to fix this issue can see the feedback in error page of that particular error
![]()
Thank you for reading
References: https://www.sitepoint.com/getting-started-with-sentry-io-error-tracking/ https://github.com/getsentry/sentry-ruby


