Nếu bạn tìm đến bài này chắc hẳn bạn đã biết react-router là gì rồi đúng không?
Nếu bạn đã quá chán với việc chuyển đổi giữa các trang với nhau mà không có bất kỳ effect nào đẹp mắt thì bạn đã đến đúng nơi rồi đấy. Hôm nay mình xin phép đưa ra 1 tip để có thể thêm animation cho việc chuyển trang giữa các router nhé.
Bắt đầu thôi nào !!!
First step
Trước tiên bạn cần phải setup sơ qua 1 chút về router các thứ để cho nó có thể hoạt động dễ dàng trước khi apply animation vào nhé.
Setup router một tí nào:
router > index.jsx
import React from 'react'
import { Switch, Route } from 'react-router-dom';
import Home from "../Home"
import Login from "../Login"
import About from "../About"
import * as S from "./styled"

const Router = () => {
  return (
    <S.Wrapper>
      <Switch>
        <Route exact path="/">
          <Home />
        </Route>
        <Route exact path="/login">
          <Login />
        </Route>
        <Route exact path="/about">
          <About />
        </Route>
      </Switch>
    </S.Wrapper>
  )
};

export default Router;
router > styled.js
import styled from "styled-components";

export const Wrapper = styled.div`
  width: 100%;
  height: 90vh;
  display: flex;
  justify-content: center;
  align-items: center;
`
Tiếp đến là đưa nó vào App.js nữa là xong.
App.js
import React from 'react'
import styled from 'styled-components'
import Router from "./router"
import { BrowserRouter, Link } from 'react-router-dom'

const App = () => {
  return (
    <BrowserRouter>
      <div>
        <Nav>
          <Link to='/'>Home</Link>
          <Link to='/login'>Login</Link>
          <Link to='/about'>About</Link>
        </Nav>
        <Router />
      </div>
    </BrowserRouter>
  )
}

export default App

const Nav = styled.nav`
  a {
    display: inline-block;
    color: white;
    transition: color 0.25s ease-in-out, transform 0.25s ease-in-out;
    padding: 10px 25px;

    &:hover {
      transform: scale(1.05);
      color: hsl(243, 80%, 62%);
    }

    &:active {
      transform: scale(.9);
    }
  }
`
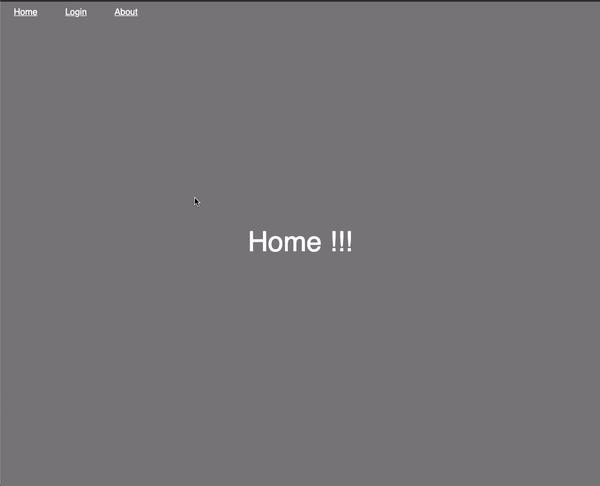
Và đây là thành quả

Second step
Giờ thì chúng ta sẽ cần phải xử lý thêm 1 tý logic nữa nhé.
Mặc định <Switch /> của react-router-dom sẽ tự động lấy location và so sánh sao cho khớp với <Route> để có thể show ra component tương ứng. Nên logic ở đây là chúng ta phải gán location của nó cho 1 biến để có thể thoải mái mà điều khiển nó nhé.
  const location = useLocation();
  const [displayLocation, setDisplayLocation] = React.useState(location);

  ...
  <Switch location={displayLocation}>
Tiếp theo logic ở đây sẽ là chúng ta sẽ so sánh location vừa click và location đã được lưu lại trước đó nếu nó khác nhau thì sẽ apply animation fadeOut và sau khi animation kết thúc thì sẽ setDisplayLocation lại thành location hiện tại và apply animation fadeIn nhé.
Trước hết hãy tạo animation cho nó đã nhé:
router > styled.js
import styled, { keyframes } from "styled-components";

const fadeIn = keyframes`
  0% {
    transform: translateX(-1000px) rotate(-720deg);
    filter: blur(50px);
    opacity: 0;
  }
  100% {
    transform: translateX(0) rotate(0deg);
    filter: blur(0);
    opacity: 1;
  }
`

const fadeOut = keyframes`
  0% {
    transform: translateX(0) rotate(0deg);
    filter: blur(0);
    opacity: 1;
  }
  100% {
    transform: translateX(-1000px) rotate(-720deg);
    filter: blur(50px);
    opacity: 0;
  }
`

export const Wrapper = styled.div`
  width: 100%;
  height: 90vh;
  display: flex;
  justify-content: center;
  align-items: center;
  animation: ${props => props.fade === "in" ? fadeIn : fadeOut} 0.3s linear both;
`
Bạn cũng có thể vào đây để kiếm thêm những effect đẹp mắt nhé link ở đây nè.
Sau đó chúng ta sẽ xử lý logic cho nó nhé:
router > index.jsx
const [transitionStage, setTransitionStage] = React.useState("in");

React.useEffect(() => {
if (location.pathname !== displayLocation.pathname) setTransitionStage("out");
}, [location]);
Ở đây chúng ta sẽ so sánh pathname hiện tại và pathname trước đó có giống nhau hay không để có thể set animation cho đúng. Nếu khác nhau thì sẽ là out.
router > index.jsx
<S.Wrapper
  onAnimationEnd={() => {
    if (transitionStage === "out") {
      setTransitionStage("in");
      setDisplayLocation(location);
    }
  }}
  fade={transitionStage}
>
Sau khi animation kết thúc thì chúng ta sẽ set lại cái location của nó nữa là xong.
Và đây là kết quả:

Chúc bạn thành công nhé 


Bài viết hôm nay của mình chỉ có vậy thôi bái baiiii 


