In this article, we will see laravel 9 socialite login with twitter account. Many websites provide different types of login authentication to users like login with google, login with gmail, login with facebook, login with github, login with twitter and other social media login. Also, we will see laravel 9 jetstream login with twitter account.
So, let's see how to login with twitter in laravel 7/8/9 socialite.
Laravel also provides a simple, convenient way to authenticate with OAuth providers using Laravel Socialite. Socialite currently supports authentication via Facebook, Twitter, LinkedIn, Google, GitHub, GitLab, and Bitbucket.
Twitter allows you to obtain user access tokens through the 3-legged OAuth flow, which allows your application to obtain an access token and access token secret by redirecting a user to Twitter and having them authorize your application.
Socialite Login With Twitter In Laravel 9
In this step, we will install laravel 9 using the following command.
composer create-project --prefer-dist laravel/laravel laravel_9_login_with_twitterIn this step, we will install jetstream using the composer command. So, run the below command in the terminal.
composer require laravel/jetstreamNow, we will install livewire using the below command, and also we need basic authentication like login and registration.
php artisan jetstream:install livewireNow, Install npm and run the package.
npm install
npm run dev
Now, we will create a database using the migration command.
php artisan migrateNow, we will install the socialite package which provides API to connect with a twitter account.
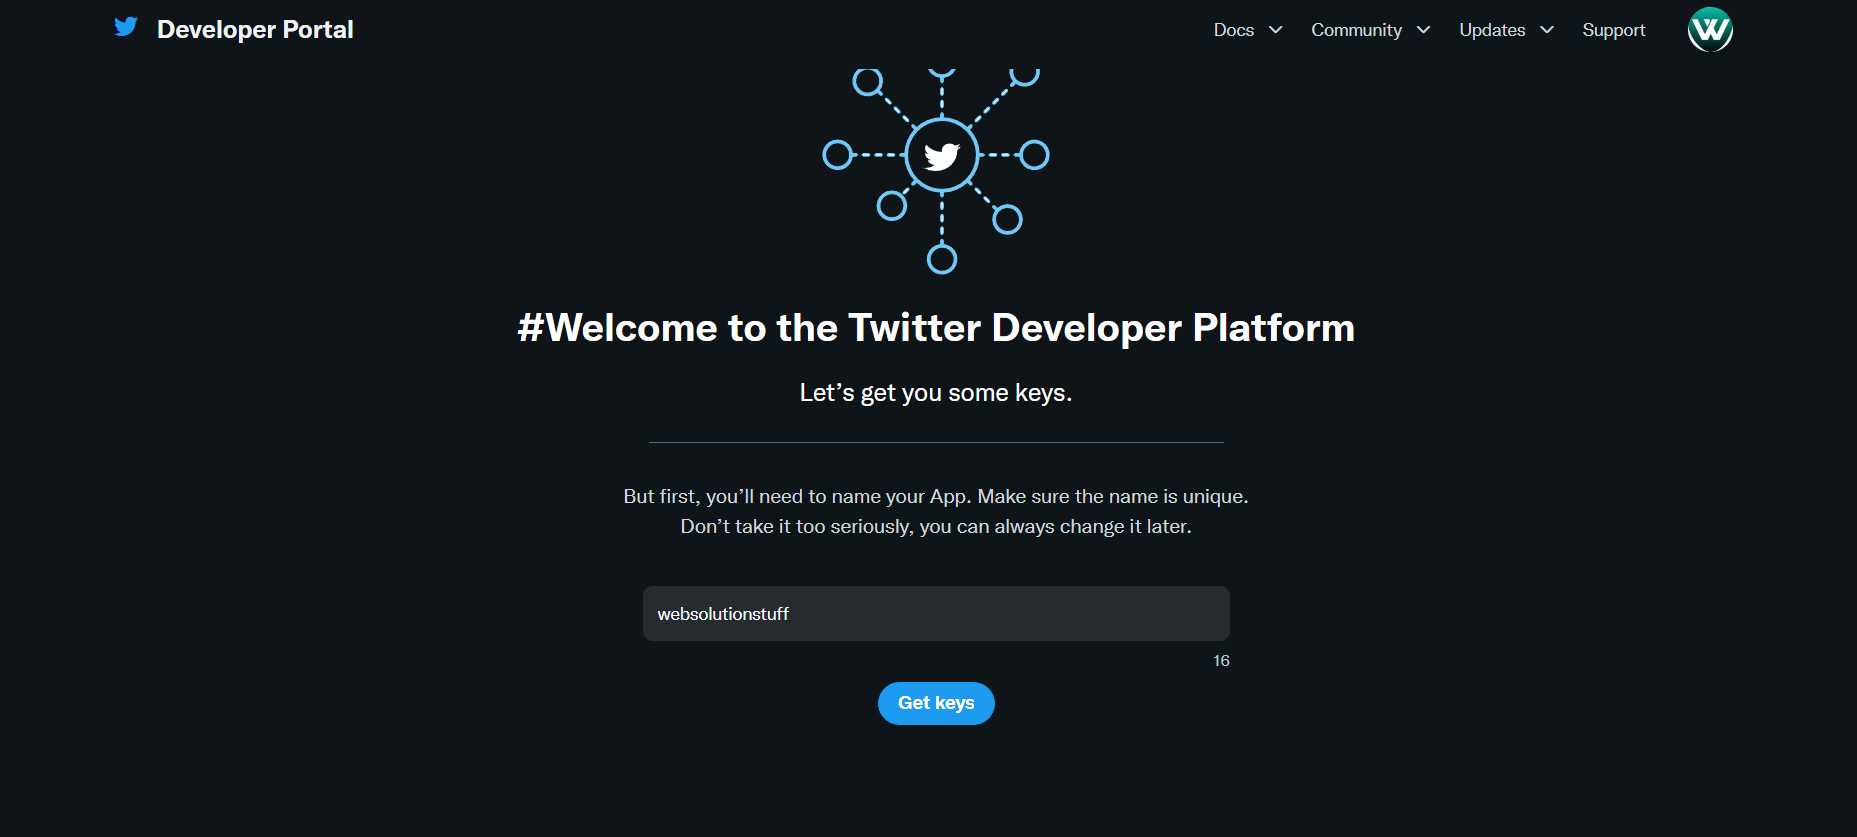
composer require laravel/socialiteIn this step, we will create twitter application and get an API key and a secret key. So, create twitter developer account and create a project in it.
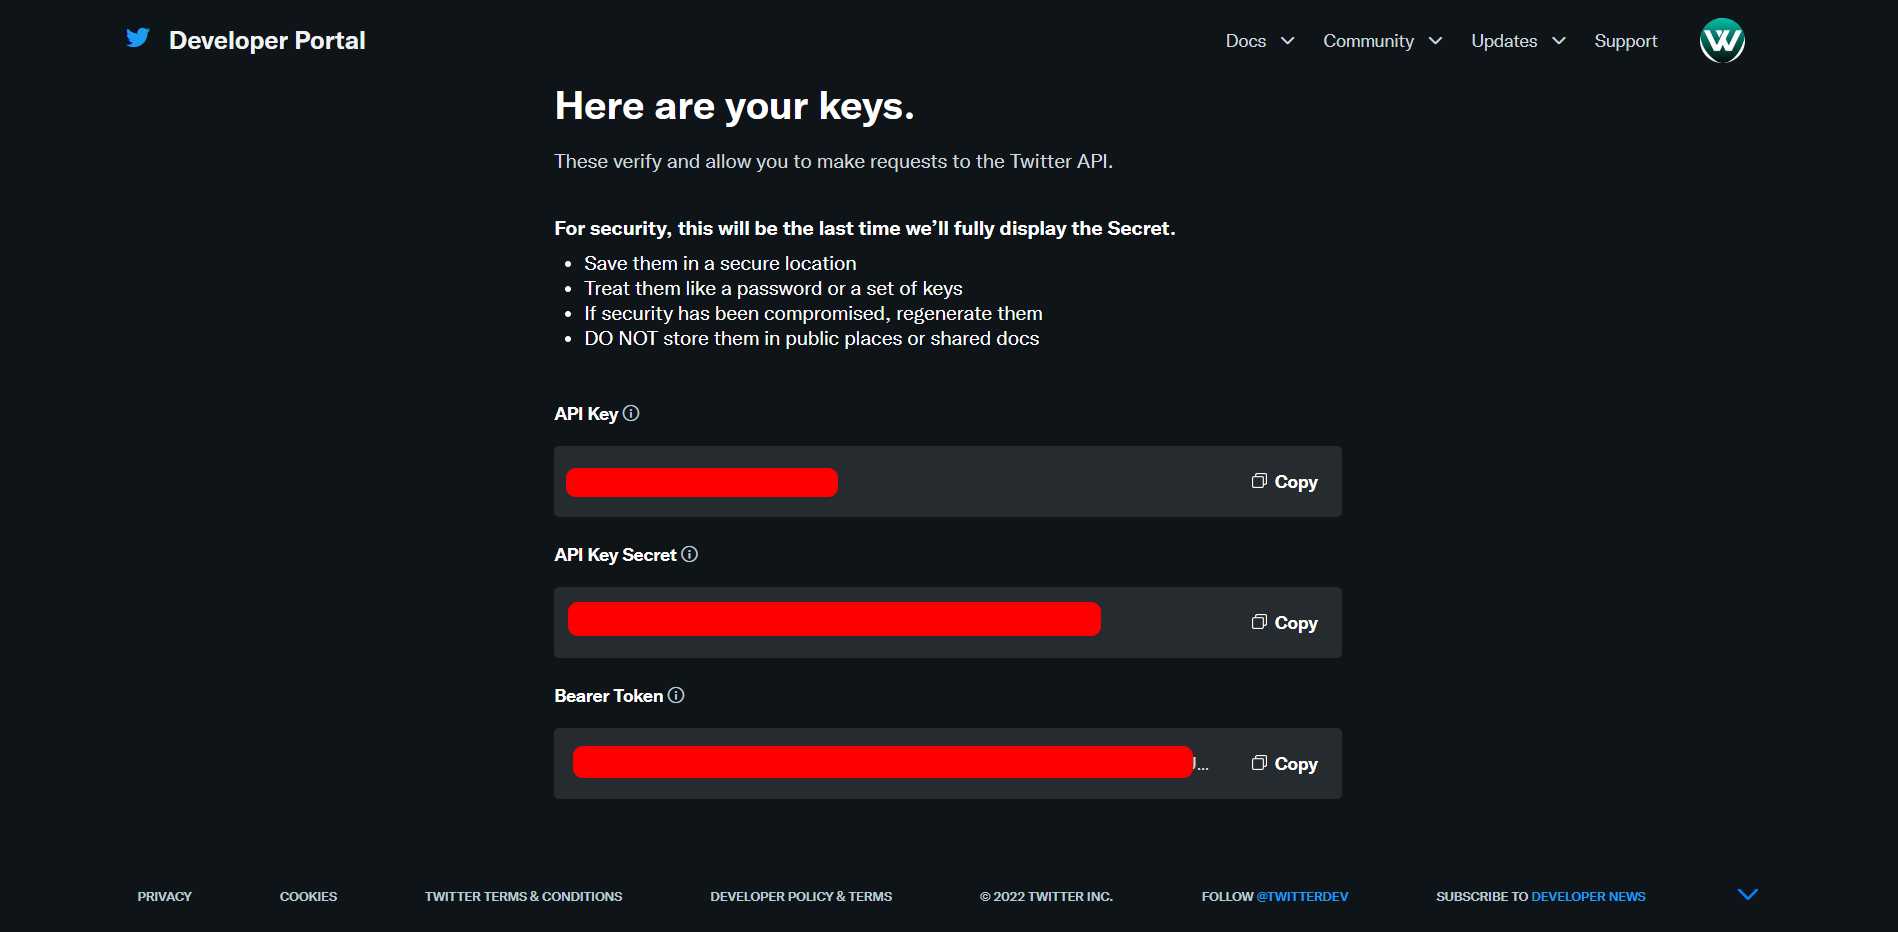
After that, we will get the API key, secret key, and bearer token like the below image.
After that, set up user authentication settings.
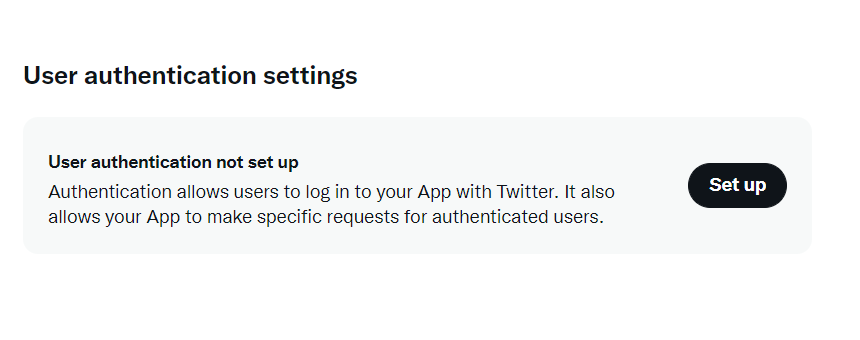
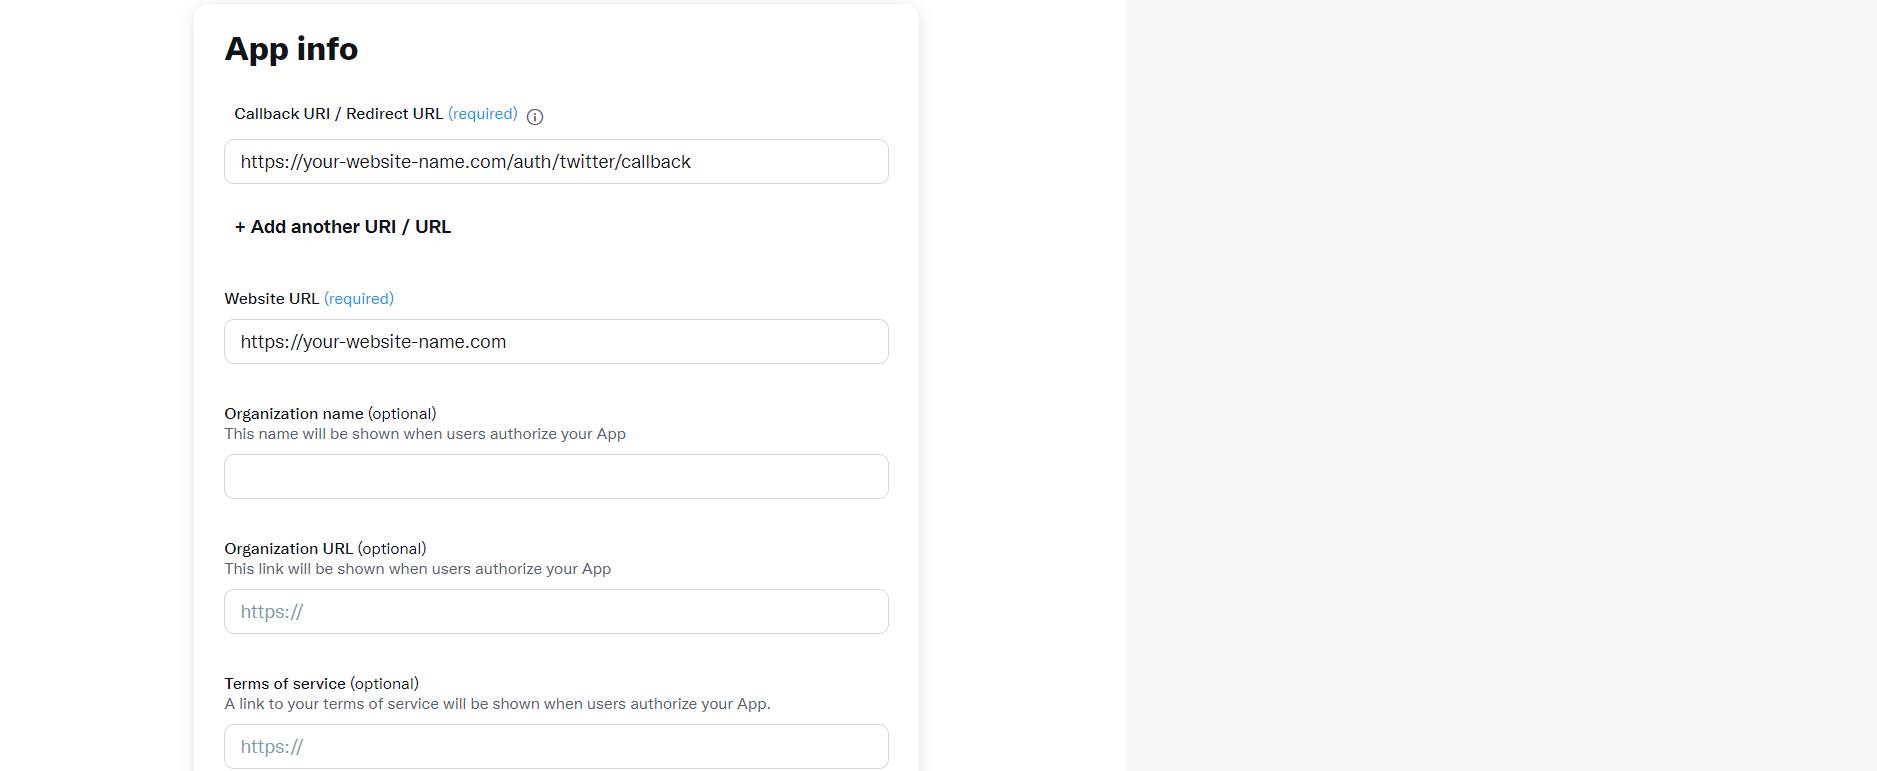
In the user authentication settings, you can settings of app permission, the type of App that enables OAuth 2.0 Authentication, and app information Callback URI / Redirect URL and Website URL.
After that, we will get OAuth 2.0 Client ID and Client Secret.
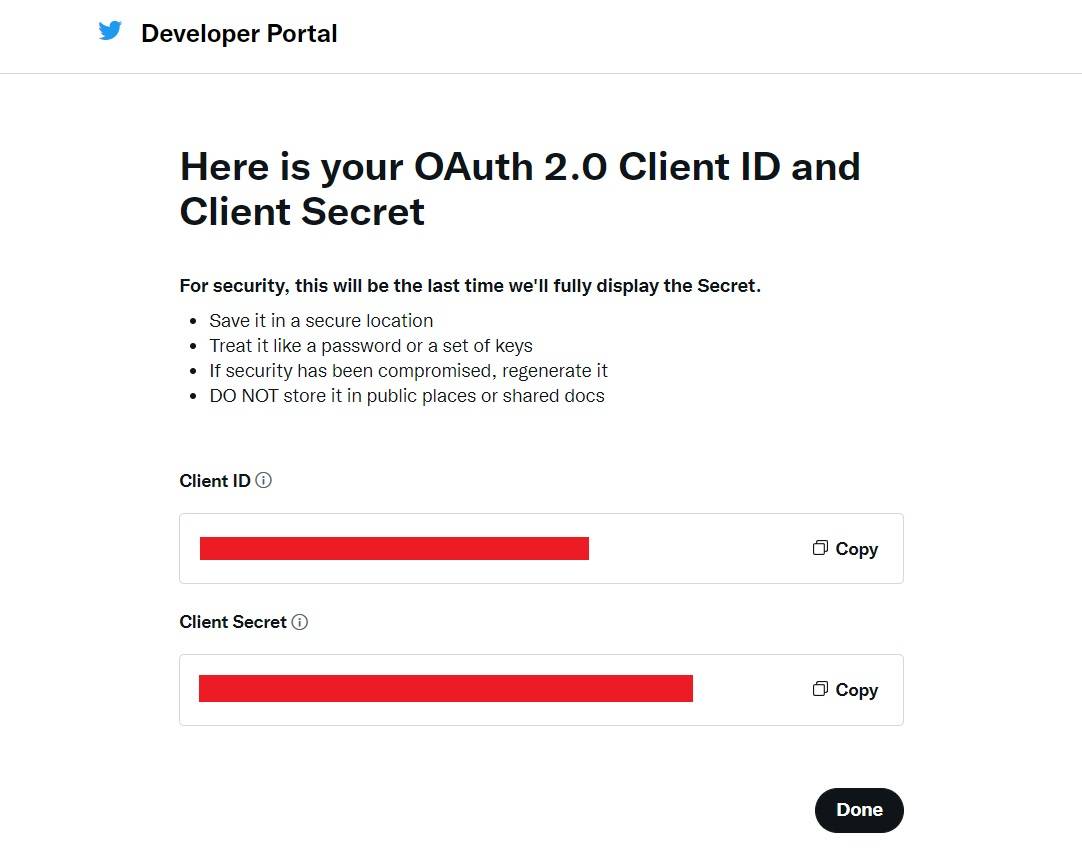
After the configuration of the twitter application, we will set the client id, secret key, and call back URL in the config file.
config/services.php
'twitter' => [
        'client_id' => 'your twitter client id',
        'client_secret' => 'your twitter client secret key',
        'redirect' => 'https://your-website-name.com/auth/twitter/callback',
],Now, run the below command to add the twitter id column in the user table.
php artisan make:migration add_twitter_id_to_users_tableCreate twitter_id migration and add twitter_id in the user table.
<?php

use Illuminate\Database\Migrations\Migration;
use Illuminate\Database\Schema\Blueprint;
use Illuminate\Support\Facades\Schema;

class AddTwitterIdToUsersTable extends Migration
{
    public function up()
    {
        Schema::table('users', function (Blueprint $table) {
            $table->string('twitter_id')->nullable();
        });
    }

    public function down()
    {
        Schema::table('users', function (Blueprint $table) {
            $table->dropColumn('twitter_id');
        });
    }
}
Add the below code to the User model.
<?php

namespace App\Models;

use Illuminate\Database\Eloquent\Factories\HasFactory;
use Illuminate\Foundation\Auth\User as Authenticatable;
use Illuminate\Notifications\Notifiable;
use Laravel\Fortify\TwoFactorAuthenticatable;
use Laravel\Jetstream\HasProfilePhoto;
use Laravel\Jetstream\HasTeams;
use Laravel\Sanctum\HasApiTokens;

class User extends Authenticatable
{
    use HasApiTokens;
    use HasFactory;
    use HasProfilePhoto;
    use HasTeams;
    use Notifiable;
    use TwoFactorAuthenticatable;

    protected $fillable = [
        'name', 'email', 'password', 'twitter_id',
    ];

    protected $hidden = [
        'password',
        'remember_token',
        'two_factor_recovery_codes',
        'two_factor_secret',
    ];

    protected $casts = [
        'email_verified_at' => 'datetime',
    ];

    protected $appends = [
        'profile_photo_url',
    ];
}Now, create a new route in the web.php file for laravel socialite OAuth login.
routes/web.php
<?php

use Illuminate\Support\Facades\Route;

use App\Http\Controllers\TwitterController;

/*
|--------------------------------------------------------------------------
| Web Routes
|--------------------------------------------------------------------------
|
| Here is where you can register web routes for your application. These
| routes are loaded by the RouteServiceProvider within a group which
| contains the "web" middleware group. Now create something great!
|
*/

Route::get('/', function () {
    return view('welcome');
});

Route::middleware(['auth:sanctum', 'verified'])->get('/dashboard', function () {
    return view('dashboard');
})->name('dashboard');

Route::controller(TwitterController::class)->group(function(){
    Route::get('auth/twitter', 'redirectToTwitter')->name('auth.twitter');
    Route::get('auth/twitter/callback', 'handleTwitterCallback');
});In this step, we will create a controller and handle the callback URL.
app/Http/Controllers/TwitterController.php
<?php

namespace App\Http\Controllers;

use Illuminate\Http\Request;
use Laravel\Socialite\Facades\Socialite;
use Exception;
use App\Models\User;
use Illuminate\Support\Facades\Auth;

class TwitterController extends Controller
{
    /**
     * Create a new controller instance.
     *
     * @return void
     */
    public function redirectToTwitter()
    {
        return Socialite::driver('twitter')->redirect();
    }

    /**
     * Create a new controller instance.
     *
     * @return void
     */
    public function handleTwitterCallback()
    {
        try {

            $user = Socialite::driver('twitter')->user();

            $finduser = User::where('twitter_id', $user->id)->first();

            if($finduser){

                Auth::login($finduser);

                return redirect()->intended('dashboard');

            }else{
                $newUser = User::updateOrCreate(['email' => $user->email],[
                        'name' => $user->name,
                        'twitter_id'=> $user->id,
                        'password' => encrypt('test12345')
                    ]);

                Auth::login($newUser);

                return redirect()->intended('dashboard');
            }

        } catch (Exception $e) {
            dd($e->getMessage());
        }
    }
}Now, edit the login.blade.php file and add the below code to the file.
resources/views/auth/login.blade.php
<x-guest-layout>
    <x-jet-authentication-card>
        <x-slot name="logo">
            <x-jet-authentication-card-logo />
        </x-slot>

        <x-jet-validation-errors class="mb-4" />

        @if (session('status'))
            <div class="mb-4 font-medium text-sm text-green-600">
                {{ session('status') }}
            </div>
        @endif

        <form method="POST" action="{{ route('login') }}">
            @csrf

            <div>
                <x-jet-label for="email" value="{{ __('Email') }}" />
                <x-jet-input id="email" class="block mt-1 w-full" type="email" name="email" :value="old('email')" required autofocus />
            </div>

            <div class="mt-4">
                <x-jet-label for="password" value="{{ __('Password') }}" />
                <x-jet-input id="password" class="block mt-1 w-full" type="password" name="password" required autocomplete="current-password" />
            </div>

            <div class="block mt-4">
                <label for="remember_me" class="flex items-center">
                    <x-jet-checkbox id="remember_me" name="remember" />
                    <span class="ml-2 text-sm text-gray-600">{{ __('Remember me') }}</span>
                </label>
            </div>

            <div class="flex items-center justify-end mt-4">
                @if (Route::has('password.request'))
                    <a class="underline text-sm text-gray-600 hover:text-gray-900" href="{{ route('password.request') }}">
                        {{ __('Forgot your password?') }}
                    </a>
                @endif

                <x-jet-button class="ml-4">
                    {{ __('Log in') }}
                </x-jet-button>
            </div>
            {{-- Laravel Login with Twitter Demo--}}
            <div class="flex items-center justify-end mt-4">
                <a class="btn" href="{{ route('auth.twitter') }}"
                    style="background: #1E9DEA; padding: 10px; width: 100%; text-align: center; display: block; border-radius:4px; color: #ffffff;">
                    Login with Twitter
                </a>
            </div>
        </form>
    </x-jet-authentication-card>
</x-guest-layout>Now, run the laravel application using the following command.
php artisan serveAnd open the URL in the browser.
You might also like:
- Read Also: Laravel 9 Socialite Login with Facebook Account
- Read Also: Laravel 9 Socialite Login with Google Account
- Read Also: Laravel 8 Socialite Login With GitHub Account
- Read Also: Laravel 8 Authentication using Jetstream Example


