In this article, we will see how to OpenAI in laravel 8 and laravel 9. Here, we will learn about openAI API in laravel applications. The OpenAI API can be applied to virtually any task that involves understanding or generating natural language or code. Also, see the openai-php/client package in laravel 9.
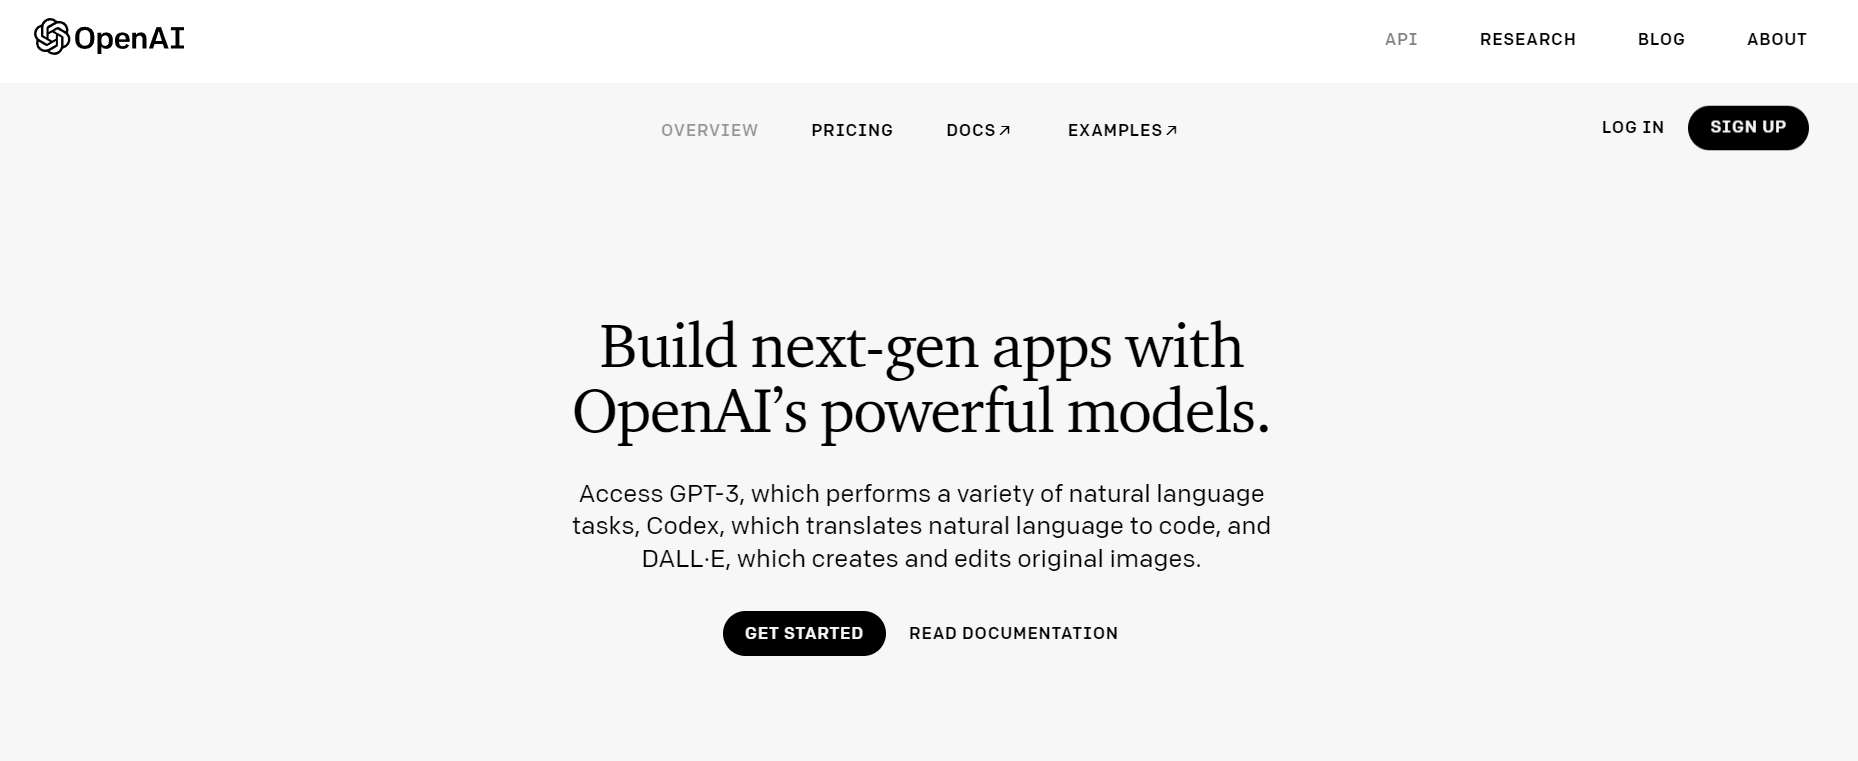
OpenAI Build next-gen apps with OpenAI’s powerful models. OpenAI is a powerful artificial intelligence platform that allows developers to easily build AI-powered applications.
PHP Libraries:
So, let's see how to use OpenAI in laravel 8, how to use OpenAI in laravel 9, OpenAI PHP example, OpenAI laravel 9, OpenAI tutorial, and laravel OpenAI example.
In this step, we will install the laravel 9 application using the following composer command.
composer create-project laravel/laravel OpenAI-ExampleIn this step, we will install the openai-php/client package using the following command. OpenAI PHP is a supercharged PHP API client that allows you to interact with the Open AI API.
Note: Requires PHP 8.1+
composer require openai-php/clientNow, we need the access key of OpenAI API. So, go to https://openai.com/api/ and click the signup button.
After signing up, go to https://beta.openai.com/account/api-keys and click the button Create new secret key.
.env
OPENAI_API_KEY="xxxxx"In this step, we create routes in the web.php file.
routes/web.php
<?php

use Illuminate\Support\Facades\Route;

/*
|--------------------------------------------------------------------------
| Web Routes
|--------------------------------------------------------------------------
|
| Here is where you can register web routes for your application. These
| routes are loaded by the RouteServiceProvider within a group which
| contains the "web" middleware group. Now create something great!
|
*/

Route::get('/', function () {
    return view('welcome');
});

Auth::routes();

Route::get('/home', [App\Http\Controllers\HomeController::class, 'index'])->name('home');
Route::get('text/generate', [App\Http\Controllers\OpenAIController::class, 'index']);
Route::post('/generate', [App\Http\Controllers\OpenAIController::class, 'generateText']);In this step, we will create an OpenAIController.php file using the following command.
php artisan make:controller OpenAIControllerapp/Http/Controllers/OpenAIController.php
<?php

namespace App\Http\Controllers;

use Illuminate\Http\Request;
use OpenAI\Client;

class OpenAIController extends Controller
{
    public function index()
    {
        return view('text_generate');
    }

    public function generateText(Request $input){
        if ($input->title == null) {
            return;
        }

        $title = $input->title;

        $client = OpenAI::client(env('OPENAI_API_KEY'));

        $result = $client->completions()->create([
            "model" => "text-davinci-003",
            "temperature" => 0.7,
            "top_p" => 1,
            "frequency_penalty" => 0,
            "presence_penalty" => 0,
            'max_tokens' => 600,
            'prompt' => sprintf('Write article about: %s', $title),
        ]);

        $content = trim($result['choices'][0]['text']);

        return view('text_generate', compact('title', 'content'));

    }
}the model will return one or more predicted completions, and can also return the probabilities of alternative tokens at each position.
In this step, we will create a text_generate.blade.php file.
resources/views/text_generate.blade.php
<!DOCTYPE html>
<html lang="{{ str_replace('_', '-', app()->getLocale()) }}">
    <head>
        <meta charset="utf-8">
        <meta name="viewport" content="width=device-width, initial-scale=1">

        <title>How To Use OpenAI in Laravel 8/9 - Websolutionstuff</title>

        <!-- Fonts -->
        <link href="https://fonts.bunny.net/css2?family=Space+Grotesk:[email protected];600;700&display=swap" rel="stylesheet">

        <script src="https://cdn.tailwindcss.com"></script>

        <style>
            body {
                font-family: 'Space Grotesk', sans-serif;
            }
            .title:empty:before {
                content:attr(data-placeholder);
                color:gray
            }

        </style>

        <script src="https://unpkg.com/marked" defer></script>

    </head>
    <body class="antialiased">
        <div class="relative flex items-top justify-center min-h-screen bg-gray-100 dark:bg-gray-900 sm:items-center py-4 sm:pt-0">
            <div class="max-w-3xl w-full mx-auto sm:px-6 lg:px-8 space-y-4 py-4">
                <div class="text-center text-gray-800 dark:text-gray-300 py-4">
                    <h3 class="text-2xl font-bold">How To Use OpenAI in Laravel 8/9 - Websolutionstuff</h3>
                </div>

                <div class="w-full rounded-md bg-white border-2 border-gray-600 p-4 min-h-[60px] h-full text-gray-600">
                    <form action="/generate" method="post" class="inline-flex gap-2 w-full">
                        @csrf
                        <input required name="title" class="w-full outline-none text-2xl font-bold" placeholder="Enter an article title..." />
                        <button class="rounded-md bg-gray-500 px-4 py-2 text-white font-semibold">Generate</button>
                    </form>
                </div>
                <div class="w-full rounded-md bg-white border-2 border-gray-600 p-4 min-h-[300px] h-full text-gray-600">
                    <textarea class="min-h-[300px] h-full w-full outline-none" spellcheck="false"></textarea>
                </div>
            </div>
        </div>
    </body>
</html>Now, we will run how to use the OpenAI API in laravel 8 and laravel 9 using the following command.
php artisan serveOutput:
You might also like:
- Read Also: Laravel 10: New Features And Release Date
- Read Also: Laravel 9 Paypal Payment Gateway Integration
- Read Also: Laravel 9 Two Factor Authentication Using Email
- Read Also: How To Create Calendar Event In Laravel 9 Using AJAX